Priming Poultry for the Breeding Pens
As we pass the shortest day of the year, the increasing light will begin to prime our poultry for the breeding season. The hens will begin to lay more eggs (or start laying again) whilst the cocks will gear up for peak fertility. Preparation for a successful breeding season and healthy chicks begins months in advance. By the end of this article you will know exactly how to get the most from your breeding pens! It’s not as hard as it seems, and once you’ve got healthy robust chicks on the ground, you’ll thank yourself for putting the effort in!
A bit of poultry reproduction theory
The Male
Like mammals, poultry such as chickens have testes that form sperm. It takes approximately 15 days for semen to be formed, which means each egg will be influenced by the fitness and health state of that male 15 days earlier. So, for instance, if you place an unconditioned male in the breeding pens and expect 90-100% fertility straight off then that’s a little unfair on him. Remember, the male contributes half of the genetics of the offspring, so he’s just as important as the hens!
The Female
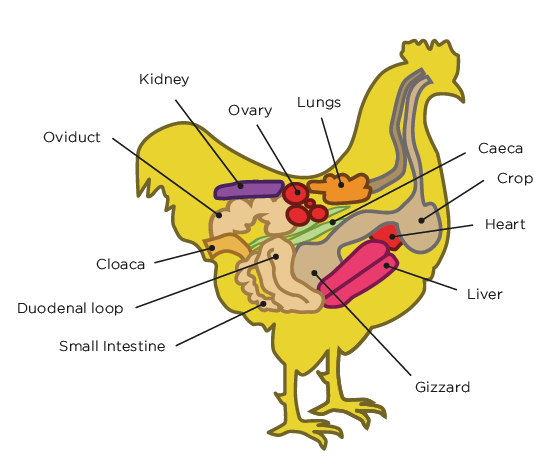
Interestingly, the majority of female poultry only develop their left ovary for egg laying, whilst the right remains small and inactive. In the breeding pens, the egg contributes not only half of the offspring’s genetics but acts as a source of food and protection as the embryo inside grows into your next champion. It takes approximately 23-26 hours to form an egg, and prior to this the yolk takes 10 days to form. Crucial factors for embryonic development lie around a balanced diet that supports embryonic development and adequate calcium stores prior to the onset of laying.

Nutrition
I believe this is one of the most IMPORTANT factors when it comes to successful breeding. Breeding birds need a quality balanced diet best delivered in pellet or mash form to ensure they are receiving all the nutrients they need plus the nutrients required by their developing chicks. Avoid feeding whole grains/seeds as a main diet as this allows for fussy eating and selection of the less nutritious components (think of kids eating chocolate and leaving their veggies behind) which causes deficiencies and ill-health in chicks plus puts your breeders at risk of getting sick. Pelleted or mash feed can be supplemented daily with a small portion of greens or scratch mix scattered through the pen to help keep your birds happy and content. Barastoc’s Poultry Breeder and supplementary scratch mix can be found here.
The feed intake of a bird is key for providing appropriate nutrition. Birds will be reluctant to eat in hot weather, stressful environments (such as overcrowding, dirty conditions), poor access to feeders, or if they are diseased. Try your best to minimise these stressors as every peck counts!

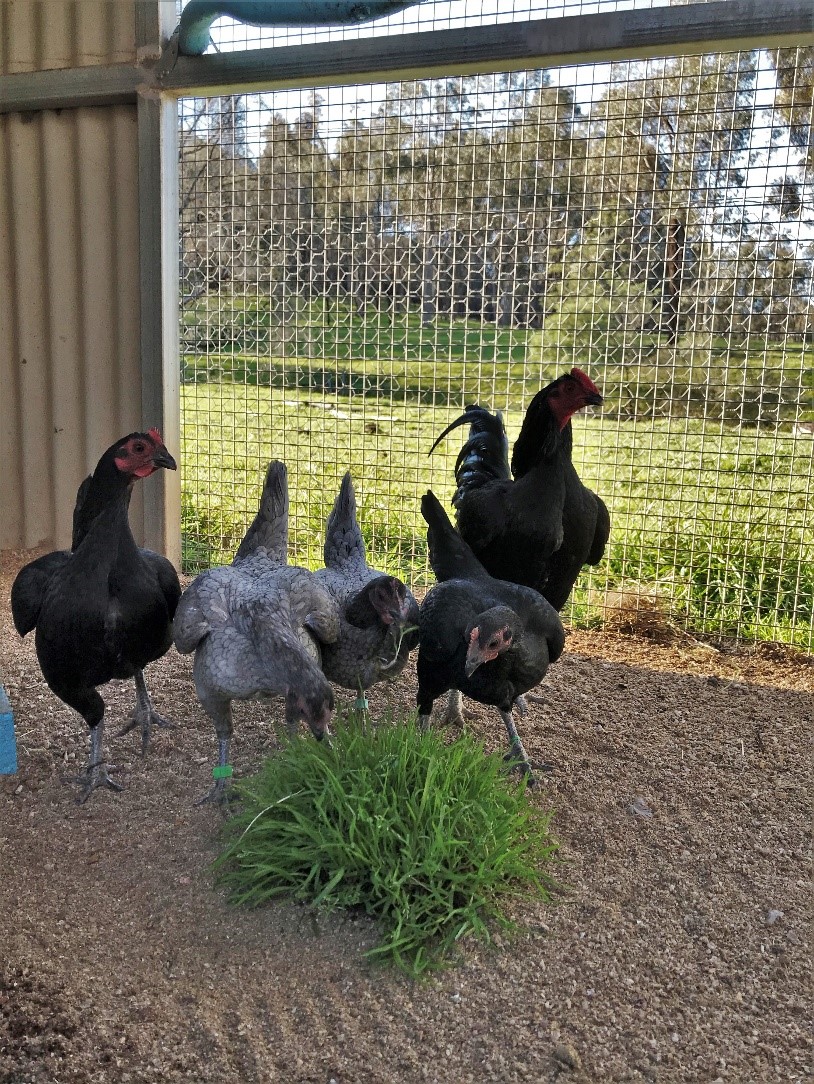
There’s nothing quite like fresh grass!
Pen Setup
Enriching your breeder’s environment can help you get the best fertile eggs. The use of perches, nesting boxes, straw, hay and dust baths all improve the welfare of your poultry and help to reduce stress. This is particularly important as research has shown that stress hormones from the hen are passed through the egg to the offspring. This then negatively affects hatchability, immunity, and growth of the chicks, which is not ideal for producing champions! So take the time to set your pens up correctly, use hay, straw, scratch mix, toys and other enrichment to keep your breeders happy!

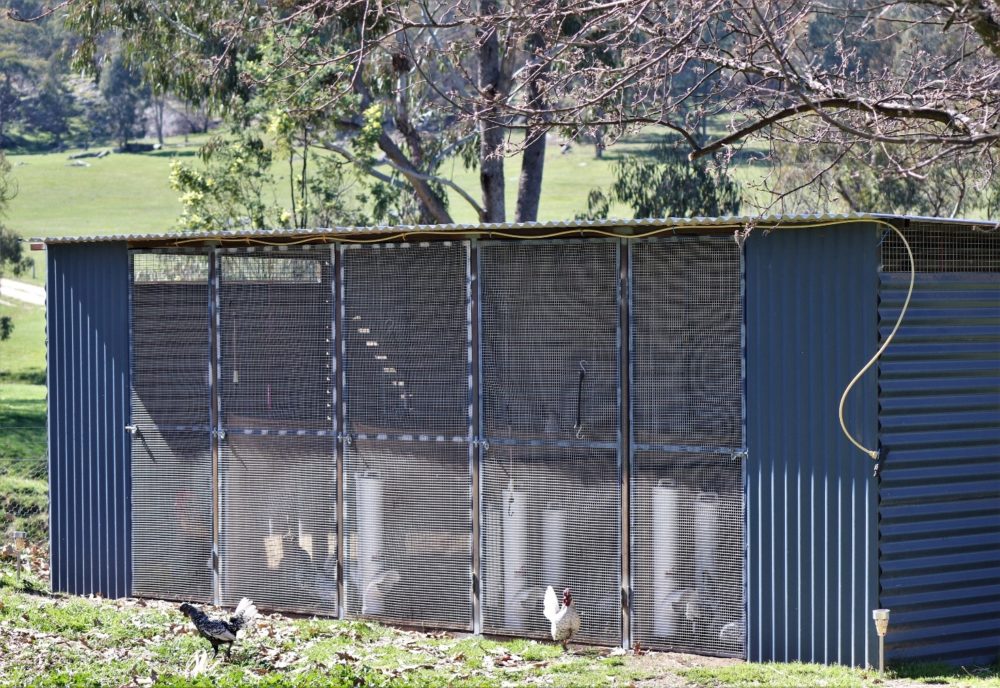
One variation of ideal breeding pens

Start off breeding season the right way with clean fresh pens!
Selecting Birds
If you’re a serious poultry fancier, you’ll be consulting a copy of the Australian Poultry Standards to help you put your pens together, you can find it here. It’s an invaluable resource that tells you exactly how each breed should look, what colour eyes and legs it should have and heaps more! Also experienced breeders around Australia are another handy resource and so accessible with the help of online platforms.
Some helpful advice is just because you have 20 birds does not mean all 20 have to be in your breeding pens. Breed from the best and sell the rest or use your lesser birds as your source of eating eggs. Apart from selecting on breed traits, make sure you select healthy fit birds too. You may also like to keep track of which birds you breed, so use leg bands or wing bands to record who’s in your breeding pens and mark their eggs with a pencil to be able to identify chicks at hatching.
From your newly acquired reproductive knowledge on poultry, it’s now evident that this selection and penning up process needs to occur at least 2-4 weeks prior to the start of egg collection so breeders can get used to one another, reduce their stress levels, get breeding fit and be placed on the correct plane of nutrition to produce robust chicks!
Egg Collection
So you’ve managed to provide an environment your breeders are happy to reproduce in, well done! Now the question is posed: should every egg be hatched? Although shells are hardy, they are also porous, meaning water, air and potential bacteria/fungi can enter. Therefore, a dry faeces-free nest is required with egg collection occurring every 1-3 days. I would strongly discourage cleaning eggs with water or incubating eggs with significant faecal material attached to them. If you feel you must incubate a dirty egg, use a dry cloth or sandpaper to remove as much of the faeces as possible without damaging the shell’s integrity.

A perfect egg for hatching. The dirt present can easily be brushed off prior to incubating
Try to set eggs in your incubator at the same time to make it easy to keep track of hatching and allow chicks to grow in age batches. It is acceptable to store fertile eggs for up to seven days prior to incubating, but the longer you store an egg for the staler it becomes and the less chance it has of forming a chick. Fertile eggs should be stored around 15°C, so do not put them in the fridge! They should also be stored with the air cell at the top (pointy end down) and some people suggest rotating twice daily to distribute the contents of the egg and avoid it all settling at the bottom.
Prior to incubating eggs, I use the following screening guide to check eggs:
| What to look for | |
| Shell Appearance | – Free from faeces, dirt
– Dry egg (no contact with wet hay, mud etc.) – No visible cracks/holes |
| Candling | – Cracks/holes in shell (not noticed on first inspection)
– Dark mould/bacterial growths (dark spots on inside surface of shell) – Size of air cell (should be small in fresh eggs) and if it is attached (should not move around inside of egg when inverted) |
| Breed Specifications | – Shell colour (e.g. dark brown for Welsummers and Marans, green for Araucanas) |
Candling is used to assess the internal contents and shell of eggs. It is performed by holding a thin beamed torch up to an egg in a dark room. You should see no cracks in the shell and no black spots. The yolk can be visible in some eggs as well as the air cell which is on the rounded/flat end of the egg
In conclusion
One must look holistically at their breeding setup and plan well ahead for the upcoming season. Always aim to keep your birds fit and healthy, and in return you will be rewarded with quality chicks!

